What is an Edible Printer?
An edible printer is a device that prints images onto edible paper. It’s like a regular printer but uses food-grade ink. You can print images, texts, and designs for cakes, cookies, and confectionery. Edible printers often go hand-in-hand with baking and cake decorating.
With an edible printer, you can create custom designs. These designs can go directly onto your baked goods. This technology is perfect for personalizing treats for birthdays, weddings, or any special occasion. It’s not just for professionals. Home bakers use edible printers for their creative projects as well.
To sum it up, an edible printer allows for printing on food. You use it to add visual flair to your edible creations. It’s a tool that combines technology with the art of baking.
Key Components of an Edible Printer
To get started with edible printing, you should know the core parts of an edible printer. These components ensure that your printer functions well and produces high-quality edible images. Let’s explore the key components that make up an edible printer:
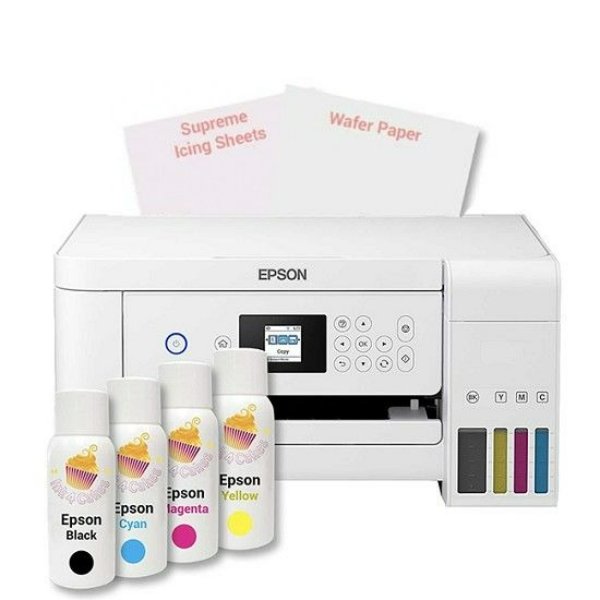
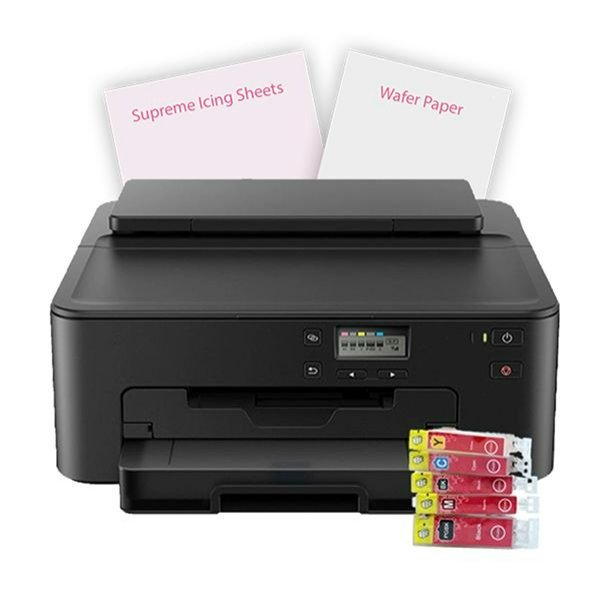
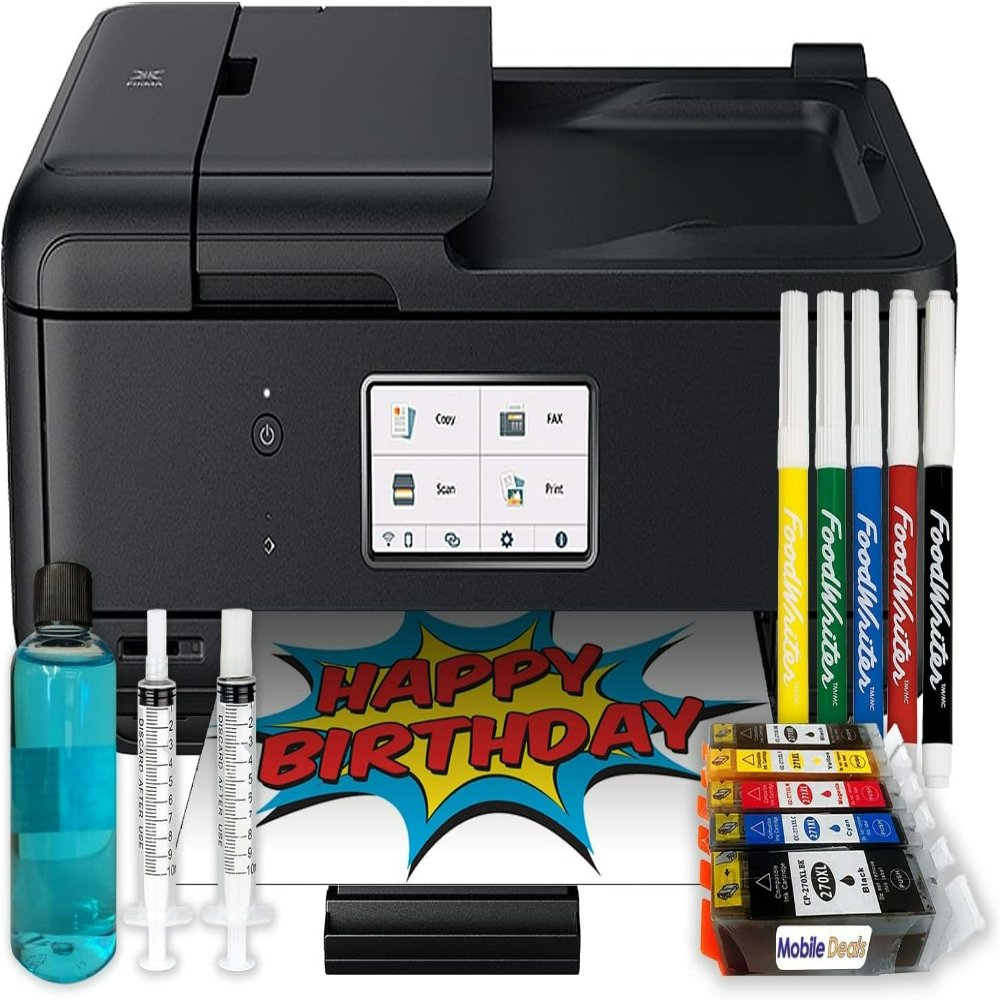
- Food-Grade Ink Cartridges: The heart of an edible printer lies with its ink. These cartridges contain food-grade ink, which is safe for consumption. The inks come in various colors, typically cyan, magenta, yellow, and black (CMYK).
- Edible Ink Printer: It’s similar to a standard inkjet printer but designed to handle edible ink. This is the main body of your edible printer setup.
- Edible Paper or Icing Sheets: This special paper is the canvas for your creations. Edible paper comes in different forms, like wafer paper or frosting sheets, and it’s designed to absorb and retain the edible ink.
- Printer Head: This component applies the ink onto the edible paper. It works precisely to ensure your images are sharp and vibrant.
- Cartridge Holder: It holds the ink cartridges in place and moves them accordingly as the printer head distributes ink onto the paper.
- Feeder Tray: The feeder tray is where you place the edible paper. It guides the paper through the printer, enabling it to receive the image.
- Software: Software is used to design and edit images before printing. It plays a crucial role in how your final printed design will appear.
Understanding these components will help you set up your edible printer correctly.
Types of Edible Printers
When you enter the world of edible printing, knowing the types of edible printers available is crucial. These printers vary by their functionality and compatibility with different edible papers and inks.
Desktop Edible Printers
Desktop edible printers are the most common and convenient for home bakers and small businesses. They fit well in compact spaces and easily connect to your computer or mobile device. These printers are perfect for printing images on smaller surfaces like cupcakes or cookies.
Professional Edible Printers
For larger operations, professional edible printers are the best choice. They can handle higher volumes and offer faster print speeds. Additionally, they often support larger sheet sizes, ideal for full-sized cakes and bigger batches of confectionery.
Wide-Format Edible Printers
Wide-format printers are the heavy-duty machines in edible printing. These are suitable for businesses that specialize in large-scale edible prints. These printers can produce images for large cakes and are used for big events or by commercial bakeries.
All-in-One Edible Printers
All-in-one edible printers offer additional features such as scanning and copying. While these features are not essential for edible printing, they provide versatility that might be useful for some users.
Choosing the right type of edible printer depends on your specific needs. Consider the volume of prints, the size of the goods you’ll be decorating, and the space you have available.
How to Choose the Right Edible Printer
Selecting the right edible printer is essential to meet your baking and decorating goals. Here are the key factors to consider when making your choice:
- Determine Your Needs: Reflect on the volume of work you’ll tackle. More prints mean you’ll need a professional printer.
- Assess Compatibility: Check that the printer works with your preferred edible paper and inks.
- Consider Size and Space: Ensure the printer size suits your workspace. Desktop printers are great for small areas.
- Print Quality: Look for printers that offer high-resolution prints for detailed images.
- Speed: If time is crucial, opt for a faster professional printer.
- Ease of Use: Find a user-friendly printer, especially if you’re a beginner.
- Budget: Balance the features you need with what you can afford. Cost varies by printer type.
It’s important to ensure that the printer you choose aligns with your baking endeavors and the level of personalization you wish to provide. By judiciously considering each of these aspects, you’ll invest in an edible printer that can enhance your creations and delight your clients or loved ones.
Setting Up Your Edible Printer
Setting up your edible printer is straightforward. Once you have the right model for your needs, follow these simple steps. Ensure your workspace is clean. Food safety is critical. Place the printer on a stable surface. This will prevent any disturbances during printing. Check all components listed in the previous sections. Make sure each part is in place and functional. Install the food-grade ink cartridges carefully. Handle them gently to avoid spills or contamination. Load the edible paper or icing sheets into the feeder tray properly. Align them to prevent paper jams. Connect the printer to your computer or device. Use the provided software or one that’s compatible. Run a test print. This helps you check for any issues before starting big projects.
Use ‘edible printer’ as your work progresses. It’ll ensure you maintain the focus on your creations. Keep it simple and have fun with the setup process. It’s an exciting step in your edible printing journey.
Essential Supplies for Edible Printing
To embark on your edible printing adventure, you’ll need more than just an edible printer. Stock up on these essential supplies to ensure seamless printing and beautiful results.
- Edible Ink Cartridges: Keep extra cartridges on hand. You never know when you might run out!
- Assorted Edible Papers: Have a variety of icing sheets and wafer papers ready for different designs.
- Power Surge Protector: Protect your edible printer from power surges. This will extend its lifespan.
- Cleaning Kit: For maintaining print head cleanliness. A spotless printer head prints flawlessly.
- Image Editing Software: Good software is key for creating perfect prints. Third-party software might offer more features.
- Storage Bags for Icing Sheets: Keep your edible paper moisture-free and safe from air.
- Nozzle Protector Gel: Apply to the printer head to prevent clogs from dried ink.
- Plastic Gloves: Use these to handle edible paper and ink cartridges. No fingerprints on your prints.
- Instruction Manual: If you’re a newbie, the manual is your go-to guide.
- Tech Support: Have the number ready. If you encounter a problem, quick help is valuable.
As you gather your supplies, think about storage. Organize your essentials to find items quickly when needed. Happy printing!
Printing Techniques and Tips
Once you have your edible printer ready, it’s time to explore some printing techniques and tips to ensure the best results. Here are some pointers to get you started on printing beautiful and vibrant images on your edible creations.
- Image Quality: Start with high-resolution images for clear and detailed prints. Avoid low-quality images as they may appear pixelated or blurry when printed.
- Color Adjustments: Before printing, adjust the colors on your image editing software. Colors on screen can look different when printed, especially with edible inks.
- Test Prints: Always do a test print on regular paper first. This helps you gauge the final look without wasting edible paper or ink.
- Print Settings: Use the correct print settings for the type of edible paper you are using. Manufacturers often provide recommended settings for optimal results.
- Allow Drying Time: After printing, give the image time to dry before applying it to your confectionery. Handling it too soon can smudge the ink.
- Handle with Care: Use clean hands or wear gloves when handling edible prints to avoid transferring oils or dirt onto the paper.
- Proper Storage: Keep your printed edible images in a cool, dry place until you’re ready to use them. Exposure to air and light can fade the colors.
By understanding and applying these essential printing techniques and tips, you’ll enhance your ability to produce enticing and professionally-looking edible images.
Maintenance and Cleaning
Regular maintenance and cleaning are key for your edible printer to function properly. Here’s how to keep it in top shape:
- Clean Regularly: Wipe the printer’s exterior with a damp cloth to keep it dust-free.
- Printer Head Care: Use the cleaning kit to clean the print head. Do this often to prevent clogs.
- Check Ink Cartridges: Inspect cartridges for leaks or low ink. Replace them as needed.
- Update Software: Keep software current for the best performance and new features.
- Use Nozzle Protector Gel: Apply this gel to the print head. It stops ink from drying out.
- Store Properly: When not in use, cover your edible printer. It protects it from debris.
- Handle with Care: Be gentle when replacing cartridges or cleaning. Rough handling can cause damage.
- Follow Manufacturer’s Instructions: Each printer has unique maintenance guidelines. Always follow them.
- Keep Supplies Fresh: Replace your edible paper and ink before they expire. Old supplies can affect print quality.
Regular maintenance keeps your ‘edible printer’ running smoothly. It ensures quality prints for all your edible projects.