Scanning documents from a Canon printer to a computer can seem daunting at first, but it’s quite simple once you understand the process. Canon printers and multifunction devices come equipped with scanning capabilities that allow you to digitize documents quickly and efficiently. This article will guide you step-by-step on how to scan documents using a Canon printer to your computer. You’ll learn about keyboard shortcuts, software installation, and troubleshooting common issues.
Understanding Your Canon Printer
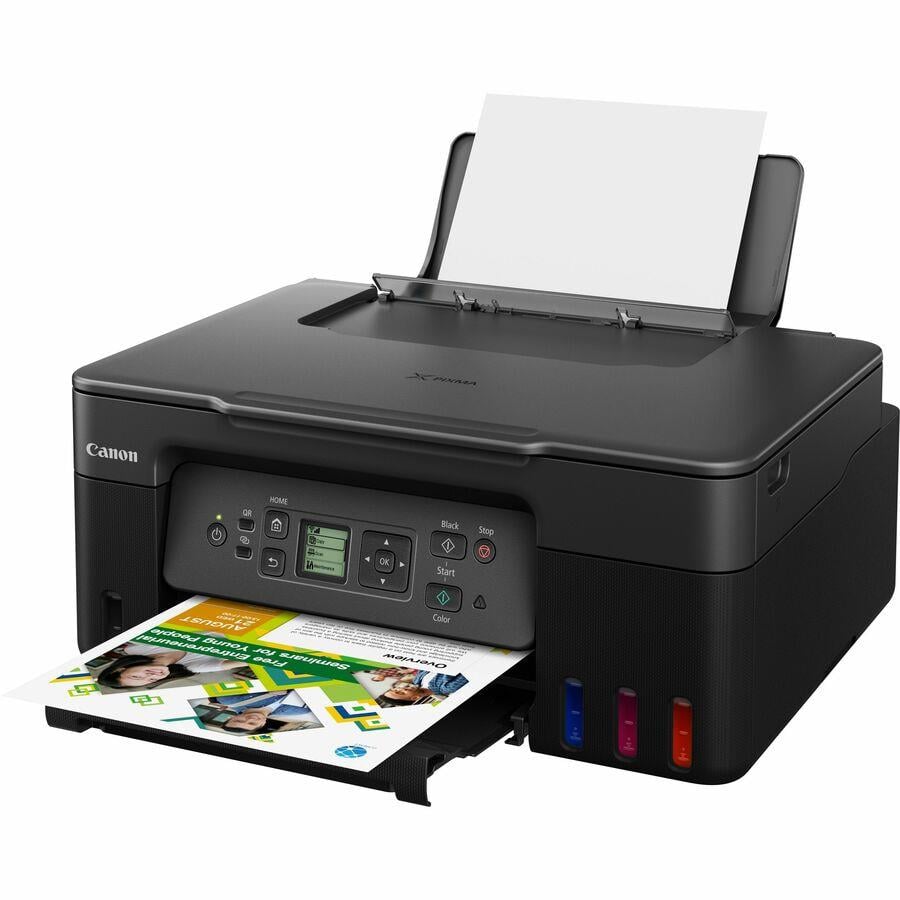
Before diving into scanning, it’s important to know your Canon printer model. Canon offers a variety of printers, including inkjet, laser, and multifunctional models. Most multifunctional models can print, scan, and copy documents. Familiarize yourself with the buttons and options available on your printer. Typically, there will be a “Scan” option on the printer’s control panel. This is where your scanning journey begins.
Check Compatibility
Ensure your Canon printer is compatible with your computer’s operating system. Canon printers generally work well with Windows and macOS. Visit the Canon website to find drivers and software specific to your printer model. Download and install them if needed. Keeping your printer’s drivers up to date ensures you have access to the latest features.
Gather Necessary Equipment
You will need several items for scanning. First, have your Canon printer ready and connected to power. Second, ensure that your computer is turned on and ready to receive the scanned documents. Lastly, a USB cable or a stable Wi-Fi connection is essential for seamless operation. If you are using a USB connection, plug one end into the printer and the other into your computer.
Setting Up the Scan
Now that you have your printer and computer ready, let’s set up the scan. The method you choose may vary depending on whether you use USB or a wireless connection.
Scanning via USB Connection
If you are using a USB cable to connect your Canon printer to your computer, follow these simple steps:
- Open the Scanner Lid: Lift the scanner lid to reveal the glass surface. This is where you will place the document you wish to scan.
- Place Your Document: Lay the document face-down on the glass. Make sure it’s aligned neatly with the guides on the sides. This ensures that your scanned image eliminates any unwanted cropping.
- Access the Printer’s Software: On your computer, locate the Canon software. You may find it in your application menu, or you can search for it. Launch the software to begin the scanning process.
- Select the Scan Mode: You can usually choose between various scan modes such as color, grayscale, or black and white. Choose the mode that best suits your document.

Scanning Wirelessly
For those using a wireless connection, the setup process is similarly straightforward.
- Connect the Printer to Wi-Fi: First, make sure that your Canon printer is connected to the same Wi-Fi network as your computer. You may need to go through the printer’s menu to set this up.
- Open the Scanner Lid and Place Your Document: Just as with the USB setup, open the scanner lid and place the document face-down.
- Use Canon’s Software: In your computer’s application menu, locate the Canon software and open it. The software should automatically detect your printer.
- Select Quality Options: Choose your desired scanning resolution and color options before proceeding.
The Actual Scanning Process
Now that your Canon printer is set up for scanning, it’s time to actually scan the document. The scanning interface typically contains various options to customize your scan.
Customizing Your Scan
You can adjust several settings to enhance the quality of your scanned document:
- Resolution: This is measured in DPI (dots per inch). Higher DPI settings (like 300 DPI or 600 DPI) produce clearer images but result in larger file sizes. Choose a DPI that balances quality and file size for your needs.
- File Format: The usual formats for scanned documents include PDF, JPEG, and TIFF. If you are scanning to share via email, a JPEG might be suitable. If you aim to edit the document, PDF is a better option.
- Color Settings: If the documents contain text and images, a color setting is ideal. For simple text documents, you might choose black-and-white mode. Be sure to select the appropriate option based on the contents of your document.
Initiating the Scan
Once you are satisfied with your settings, find the “Scan” button in the software. Click it to initiate the scanning process. Your printer will begin scanning the document, and a progress bar may appear on your computer screen. This usually takes a few seconds to a few minutes, depending on the settings and document size.
Saving and Organizing Scanned Documents
After your scan completes, the next step is to save the document to your computer. You want to ensure that you can easily find it later.
Saving the Document
- File Location: Choose a location on your computer where you want to save the scanned file. Popular locations include the Desktop or Documents folder.
- Naming the File: Give your scanned document a descriptive name. This helps in easy retrieval later. Avoid generic file names like “Scan_1”. Use elements like the document name along with the date for effective organization.
- File Format Confirmation: Make sure that you select the correct file format when saving it. The Canon software usually allows you to save in various formats.
Organizing Scanned Files
With many documents scanned, organizing them becomes essential. Consider creating a dedicated folder for scanned documents. You could categorize them by date, type, or project. This organization saves time when you need to access these files in the future.
Troubleshooting Common Scanning Issues
Sometimes things may not go as planned during the scanning process. It’s important to know how to troubleshoot common issues.
Printer Not Detected
If your computer does not detect the Canon printer during the scanning setup, here are some steps to fix it:
- Check Connections: For USB connections, ensure that the cable is securely connected to both the computer and printer. If using Wi-Fi, confirm that both devices are on the same network.
- Restart Devices: Sometimes a simple restart can solve connectivity issues. Turn off your printer and computer, wait for a minute, and then turn them back on.
- Check Printer Software: Ensure that you have the correct drivers installed. Go to the Canon website if you need to download updated software.
Poor Quality Scans
If your scanned image or document lacks clarity:
- Check DPI Settings: Confirm that your DPI settings are set appropriately for your needs. Increasing the DPI can enhance the quality.
- Clean Scanner Glass: Dust and smudges can affect scan quality. Use a lint-free cloth to clean the scanner glass before scanning.
- Document Placement: Ensure the document is placed correctly on the scanning surface. Misalignment can result in poor scans.
Advanced Scanning Features
Many Canon printers offer advanced scanning features that can enhance your experience.
Duplex Scanning
Duplex scanning allows you to scan both sides of a document without manually flipping it over. This feature saves time for those working with double-sided documents.
- Enable Duplex Scanning: In the Canon software, look for an option that enables duplex scanning. Make sure it is checked before you begin.
- Place Document Accordingly: Follow the prompts in the software for how to place your document if it requires any specific orientation.
OCR Capabilities
Many models feature Optical Character Recognition (OCR) technology. This allows you to convert scanned documents into editable text.
- Select OCR Option: Within the scanning software, choose the OCR function if available.
- Choose File Format: Save the output as a Word document or text file. This enables easy editing later.
Conclusion
Scanning documents from a Canon printer to a computer is straightforward once you’re familiar with the steps. From setting up your equipment to troubleshooting common issues, you now have the knowledge to make the process efficient. Don’t forget about advanced features like duplex scanning and OCR for enhanced flexibility. With practice, scanning becomes a simple task that can save you time and effort. Happy scanning!