The MacBook Air is a popular laptop known for its thin design and portability. Despite its sleek build and impressive performance, accidents happen. A dropped MacBook Air can lead to a cracked or broken screen. This can be frustrating for users who rely on their devices both for work and personal use. In this guide, we will walk you through the MacBook Air screen replacement process. You will learn about the reasons for screen damage, the tools needed for replacement, and a step-by-step guide to performing the replacement.
Understanding Screen Damage on the MacBook Air
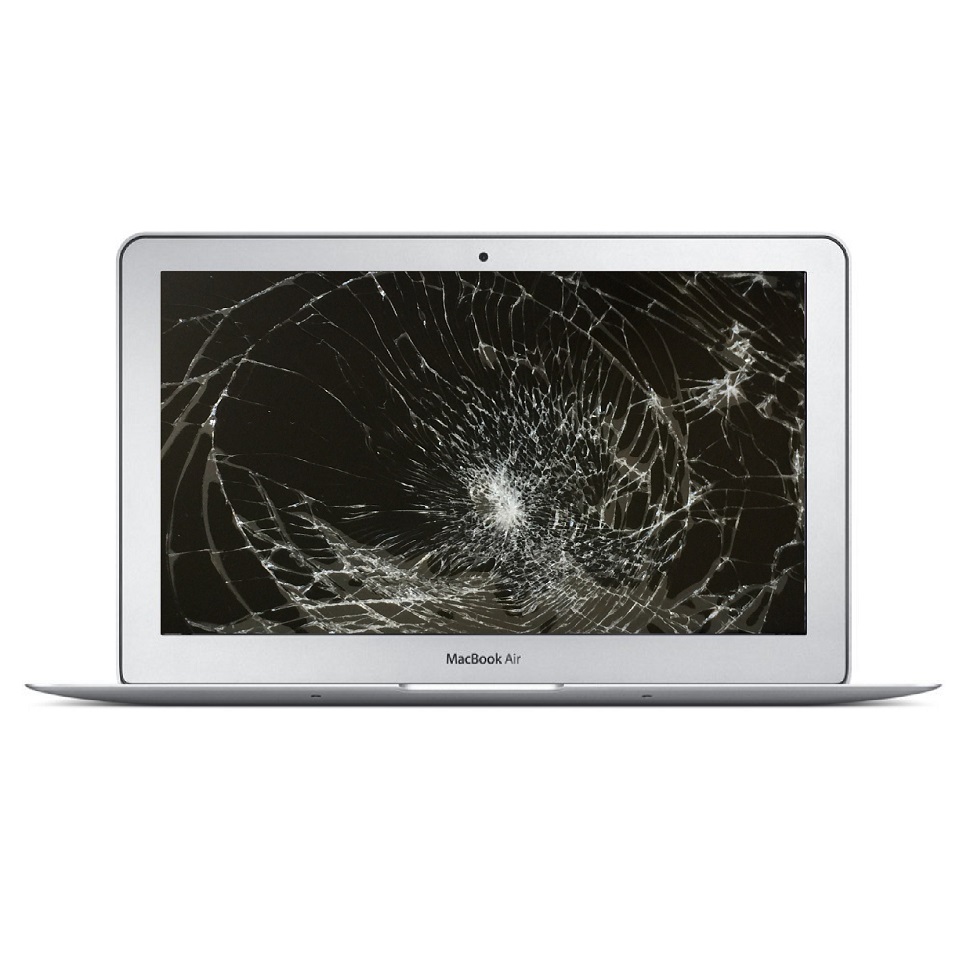
Common Causes of Screen Damage
Most people use their MacBook Airs daily. They carry them around in bags, placing them on desks and tables. This frequent use can lead to several types of screen damage. The most common cause is accidental drops. Even a small fall can cause cracks or shattered glass. Another frequent issue is pressure damage. Placing heavy objects on the laptop can cause the screen to bend or crack.
Environmental factors can also play a role. Exposure to extreme heat or cold can warp the screen. In addition, liquids can cause significant damage. A spilled drink can seep into the laptop, damaging the internal display. These factors can lead to the need for screen replacement.
Identifying Screen Issues
Before deciding to replace the screen, it’s important to determine the type of damage. If the screen has scratches, you might not need a full replacement. However, if there are cracks, black spots, or display issues, replacement is necessary. Black spots often indicate that the OLED display is damaged. In such cases, using the laptop becomes frustrating. To avoid further damage, it’s better to address these issues as soon as possible.
Some users might be uncertain if their screen needs replacement. If the display flickers continuously or shows discoloration, that’s a clear sign of trouble. In some cases, the screen may work intermittently. This can be due to connection issues inside the laptop. These problems need troubleshooting before deciding on a replacement. When in doubt, consult a professional.
The Tools You’ll Need for Replacement
Essential Tools for the Job
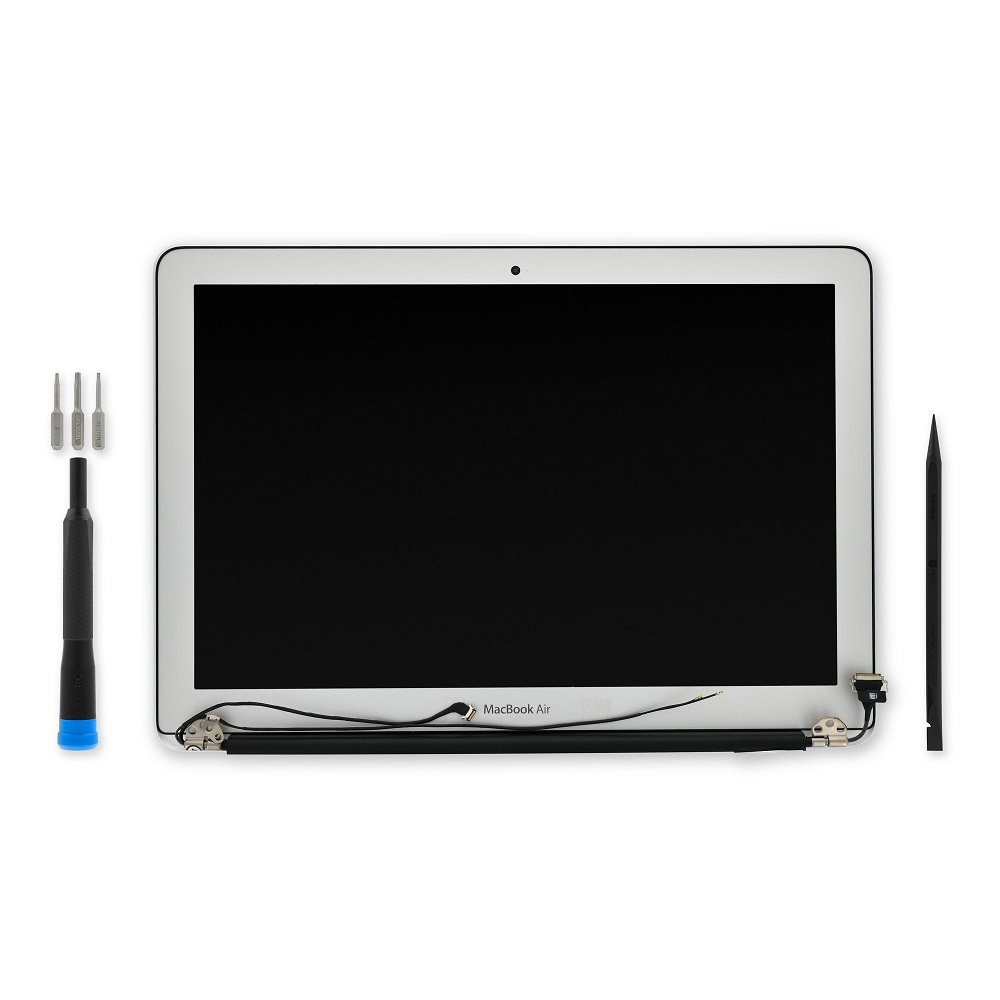
Replacing the screen on a MacBook Air requires certain tools. First, you’ll need a set of screwdrivers. A Phillips #00 screwdriver and a pentalobe screwdriver work best. These will help you open the casing and remove the screen.
A plastic opening tool is also essential. This tool is designed to safely pry open components without damaging them. A suction cup can help lift fragile screens without applying too much pressure. If available, a magnetic mat can assist in keeping screws organized. This is helpful, as MacBook screens often have numerous small screws.
You will also need new adhesive strips for the screen. Over time, the adhesive on the original screen can weaken. Fresh adhesive ensures that your new screen stays in place. Finally, if you’re unsure about handling the project, ordering a screen replacement kit is a good option. These kits come with all the necessary tools and instructions specific to your MacBook Air model.
Preparing Your Workspace
Before starting the replacement process, preparing your workspace is crucial. Find a clean, flat surface to work on. This prevents small parts from rolling away or getting lost. Make sure you have enough lighting. A well-lit area makes it easier to see small components.
Have a container to keep all screws safe. Losing one small screw can disrupt the entire replacement process. It’s often helpful to outline the steps you’ll take and follow them closely. This preparation phase can ensure a smooth replacement process.
Step-By-Step MacBook Air Screen Replacement
Gathering Necessary Information
Before diving into the actual replacement, gathering information is vital. Know the model of your MacBook Air. Apple has produced several versions over the years. Each has specific screen requirements. Verify this information either from the original purchase receipt or the device’s settings. Navigate to ‘About This Mac’ in the Apple menu to find your model information.
Once you confirm your model, get the matching replacement screen. Some retailers offer screens tailored to certain models. Using the wrong screen can complicate the process and result in further damage.

Powering Down and Disassembling the MacBook Air
Begin by shutting down your MacBook Air completely. Disconnect all peripherals and unplug the power adapter. Safety comes first, and you want to avoid any electrical risks. Once it’s powered down, flip the laptop over to access the bottom casing.
Locate the screws holding the bottom casing in place. Use the appropriate screwdriver to remove these screws. As you work, keep track of where each screw belongs; this will be critical during reassembly. Once the screws are out, use a plastic opening tool to gently pry off the bottom casing. Be cautious, as there are delicate components inside.
After removing the bottom casing, disconnect the battery carefully. This step is crucial for ensuring that no power remains while you work. You can also document the steps by taking photos for your reference. This visual record will guide you during reassembly, making it easier to put everything back in place.
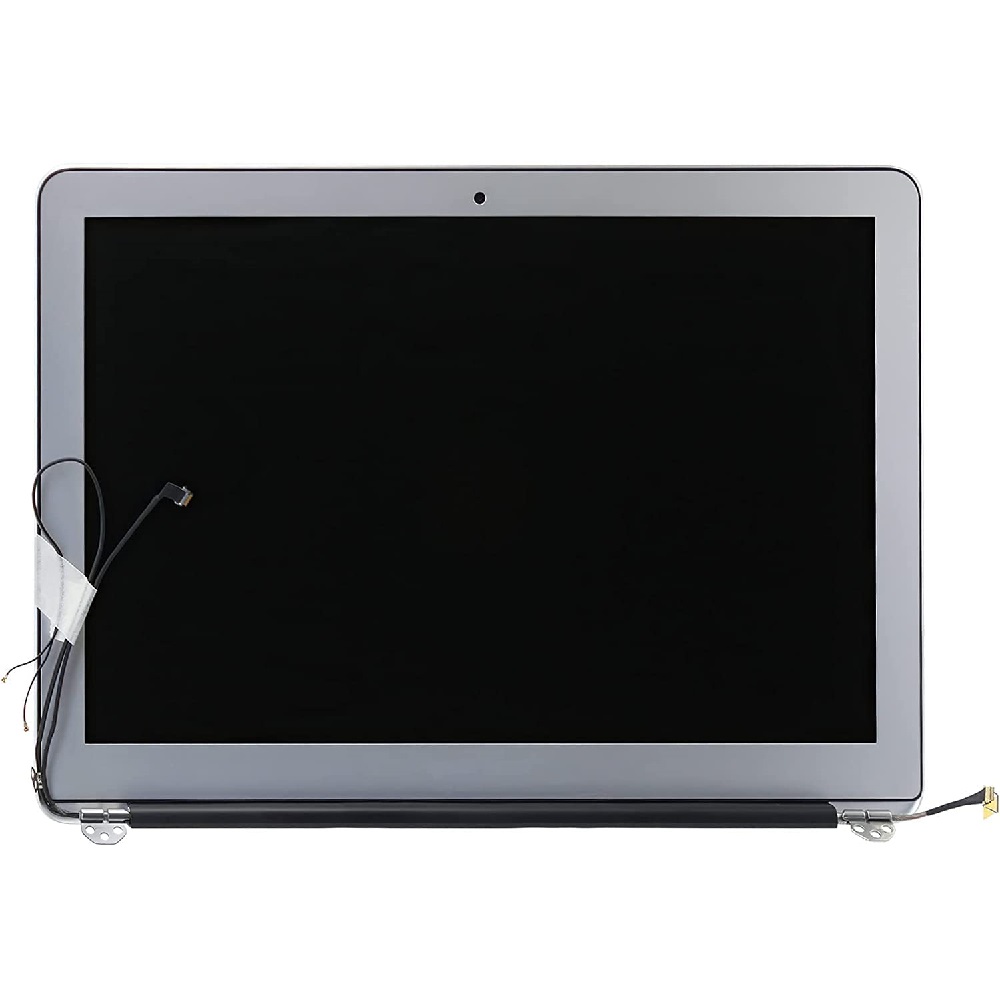
Removing the Broken Screen
With the battery disconnected, it’s time to focus on removing the broken screen. Every model is slightly different, so refer to specific guides for your MacBook Air version. Start by locating the screws that secure the display to the hinge. It’s usually a combination of both Phillips and pentalobe screws. Carefully remove these screws and keep them in your safe container.
Next, check for any cables connecting the screen to the motherboard. Carefully disconnect these using a plastic opening tool. This must be done gently to avoid damaging the connectors. Once all screws and cables are free, the screen should lift away. This step might require some force, but be cautious. If it feels stuck, check for any screws or cables you may have missed.
Installing the New Screen
Preparation for Installation
With the broken screen removed, it’s time to prepare for the new screen installation. First, take a moment to inspect the area where the screen was mounted. Look for dust, debris, or any potential obstructions. A clean workspace ensures that nothing inadvertently short-circuits the laptop.
Next, unpack your new screen carefully. Take care not to touch the display surface with your fingers, as oils can cause issues later. Check the new screen for any signs of damage before proceeding. Ensure it matches the model specifications you gathered earlier.
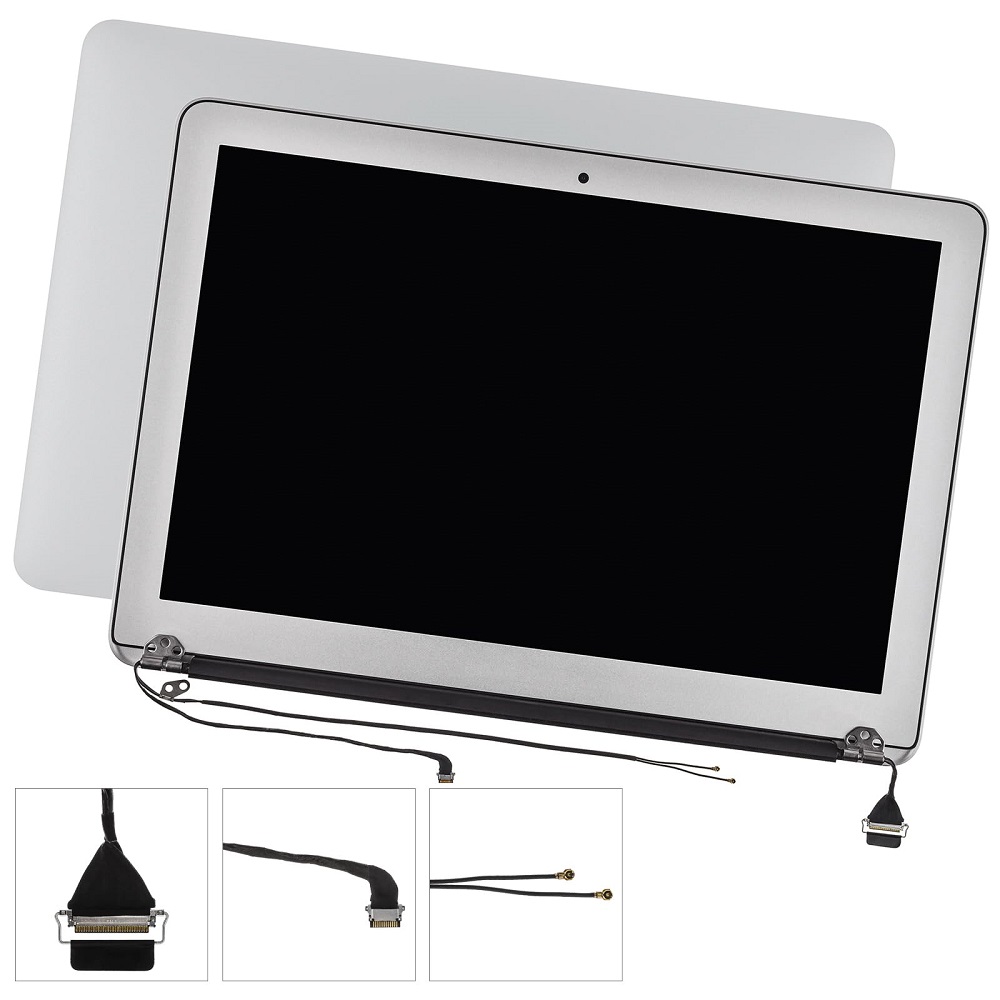
Connecting the New Screen
Start the installation process by connecting the display cables. This involves carefully routing cables through any openings, making sure not to pinch or damage them. Align the connectors properly and press down gently until they snap in place. Next, position the new screen into the hinge area. Secure it with the screws you previously removed. Tighten them appropriately but avoid overtightening, as this can cause damage.
Once you finish securing the screen, double-check all connections. Ensure that every cable is seated properly. Misaligned connectors can lead to display issues, rendering the new screen unusable.
Finalizing the Installation
Reassembling the MacBook Air
With the new screen installed, you can begin reassembling your MacBook Air. Start by connecting the battery again. Make sure the connector fits snugly and securely. After reconnecting the battery, carefully replace the bottom casing. Align it properly and reinsert all screws. Organizing screws during disassembly will make it easier to remember where each one goes.
As you replace the bottom cover, check that it sits flush with the rest of the laptop. If it doesn’t, inspect for any factors that may be causing it to misalign. Finally, replace the screws using the same power drill or screw driver you used earlier.
Testing the New Screen
After reassembling, it’s time to power up your MacBook Air. Plug in the power adapter and press the power button. If the installation was successful, you should see the Apple logo appear. Once booted up, check for any display issues. Ensure that the touch sensitivity works as expected and that colors display correctly.
Next, test various functions. Open different applications and resize windows. This ensures that the display responds appropriately. If any issues arise, double-check the connections inside the laptop. It’s not uncommon for a loose cable or connection to cause display problems post-installation.
Troubleshooting Common Issues After Screen Replacement
Display Issues
Even after a successful installation, users might encounter issues. Common display problems include flickering, color misalignment, or spots. If the screen flickers, it may result from a loose connection. Shut down the laptop and reopen it to inspect all connections. Look for any cable that might have become dislodged during installation.
Color issues can arise due to incompatible screens. Always ensure you acquire a display that matches your MacBook Air model. If all connections seem perfect, but problems persist, you may need to consider seeking professional help. A tech specialist can diagnose deeper issues that DIY replacements might overlook.
Software Issues
Sometimes, the display could function correctly, but the software runs into problems. Macs are known to sometimes struggle with software compatibility after hardware changes. In this case, consider resetting the NVRAM or SMC. These resets can resolve many issues tied to hardware changes. Detailed guides are available online for both procedures.
If the laptop continues experiencing software issues, running an OS update may help. New updates often resolve many bugs and hardware compatibility issues. Keeping your software updated ensures you enjoy a seamless computing experience.
Maintaining Your MacBook Air Screen
Preventative Measures
Once you replace the screen, your work isn’t finished yet. Preventing future damage is just as crucial as the replacement. Start by using a padded sleeve or case when transporting your MacBook Air. Slipping it into a protective cover can prevent scratches and minimize damage from drops.
Avoid placing heavy items on top of your laptop. This can prevent pressure damage that leads to cracked screens. If you accidentally spill liquids, immediately turn the laptop off and dry it. Quick action can prevent extensive internal damage, which is far more expensive to repair.
Regular Maintenance
Regular maintenance can prolong your MacBook Air’s lifespan. Clean your screen gently with appropriate cleaners. Using a microfiber cloth can avoid scratches. Additionally, dust the keyboard and ports regularly. Dust can cause overheating or damage components over time.
Always ensure the software is up-to-date, as mentioned earlier. Regular OS updates not only improve performance but can also fix bugs related to hardware changes. Keeping track of these maintenance tips will ensure a longer-lasting screen after replacement!
Conclusion
Replacing a MacBook Air screen can seem daunting, but it’s manageable with the right preparation and tools. Understanding screen damage and following a step-by-step guide will make a significant difference. Ensuring your workspace is ready and knowing your model is crucial.
Once the screen is replaced, maintaining your device is necessary for preventing future issues. Taking good care of your MacBook Air can prolong its lifespan and keep it performing at its best.
By following these guidelines, you can confidently tackle a screen replacement. If you ever feel uncertain, seeking professional help is a smart move. Ultimately, your MacBook Air is an investment in productivity. Taking care of it ensures that it serves you well for years to come.